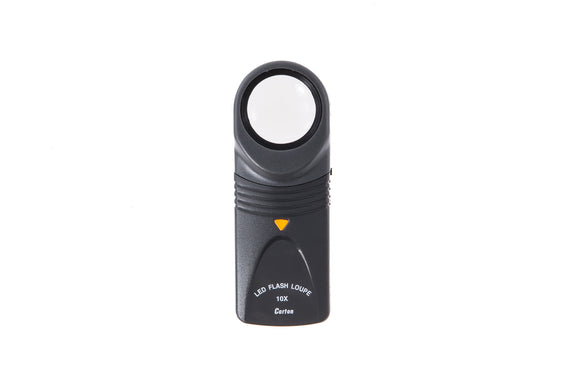
How to Use a Loupe
Are you ready to become a true fountain pen sleuth? In the world of fountain pens, one essential tool that no detective should be without is a trusty loupe. It's your magnifying glass; your secret weapon for uncovering the mysteries of your nib. If you've ever wondered how to use one and what to look for, you're in the right place! So, grab your loupe, channel your inner Sherlock, and let's get started on solving those nib mysteries step by step.
Step 1: Equip Your Fountain Pen Detective Kit
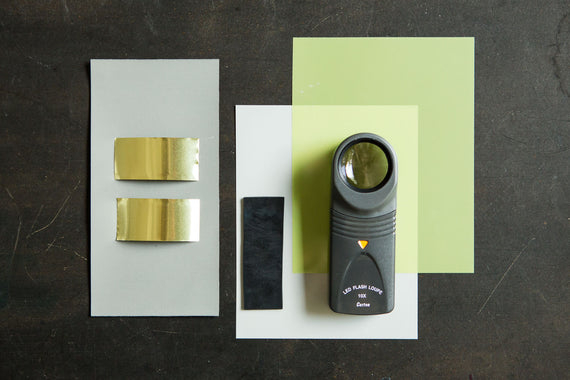
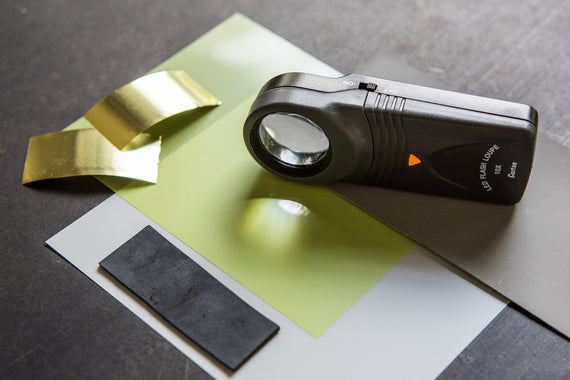
First things first, ensure you have your trusty loupe at the ready. This is your primary tool for inspecting your fountain pen nib, and it's absolutely essential for solving any writing issues or scratchiness.
Step 2: Assume Your Detective Stance
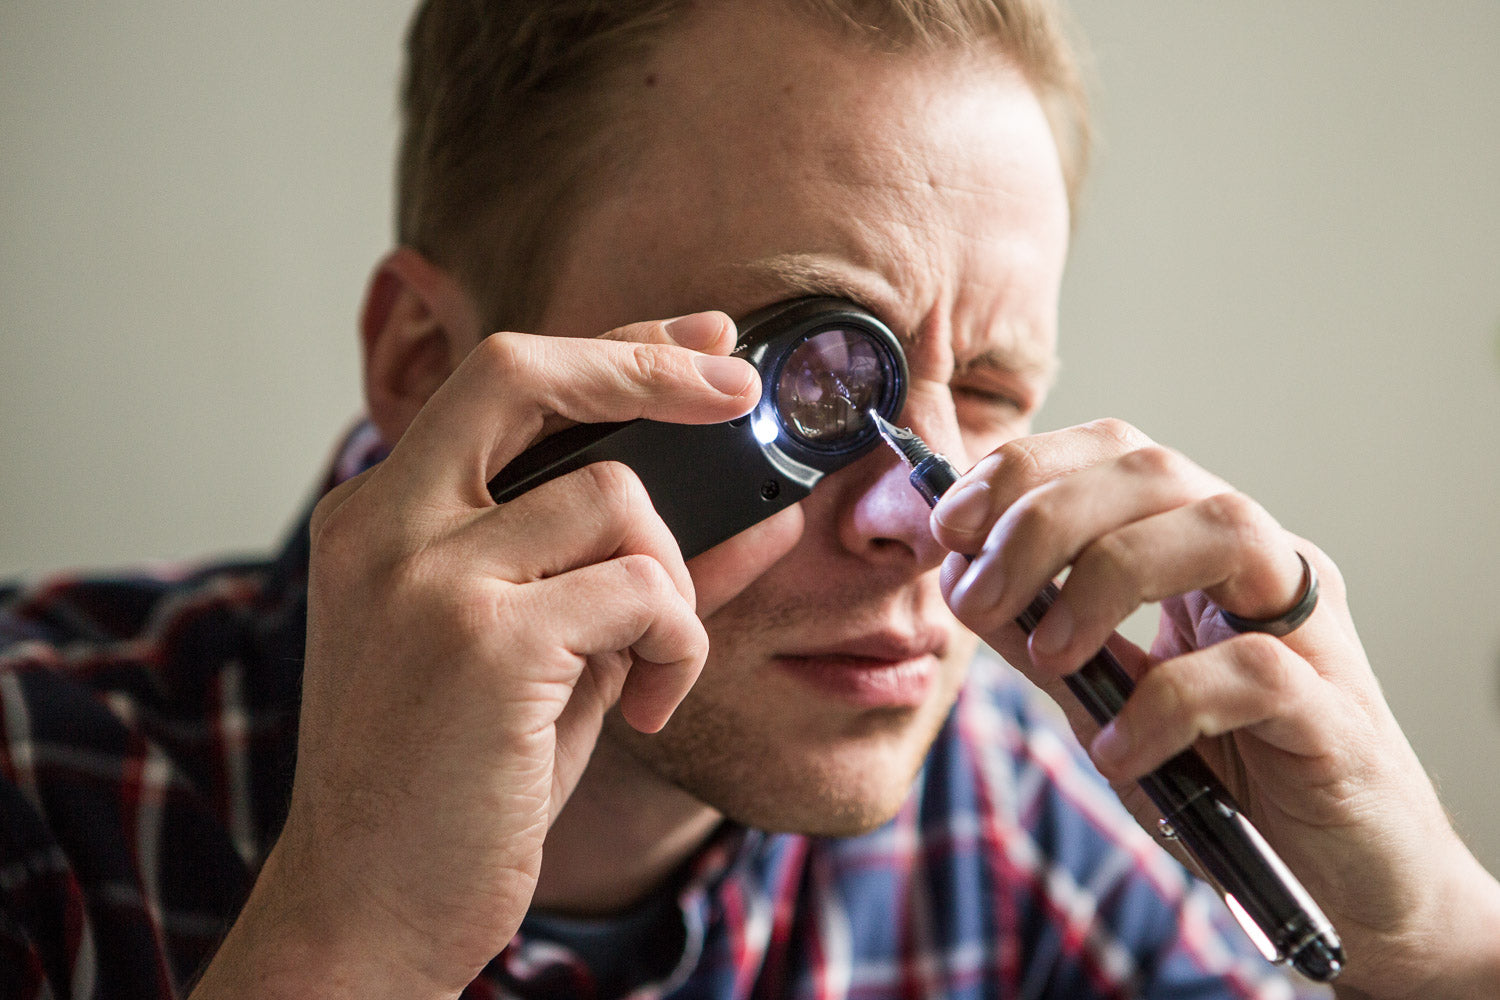
Now, it's time to get into character. Position the loupe on the bridge of your nose and below your brow. This isn't just for style – it provides the stability you need for a detailed inspection.
Step 3: Dive into the Nib Details
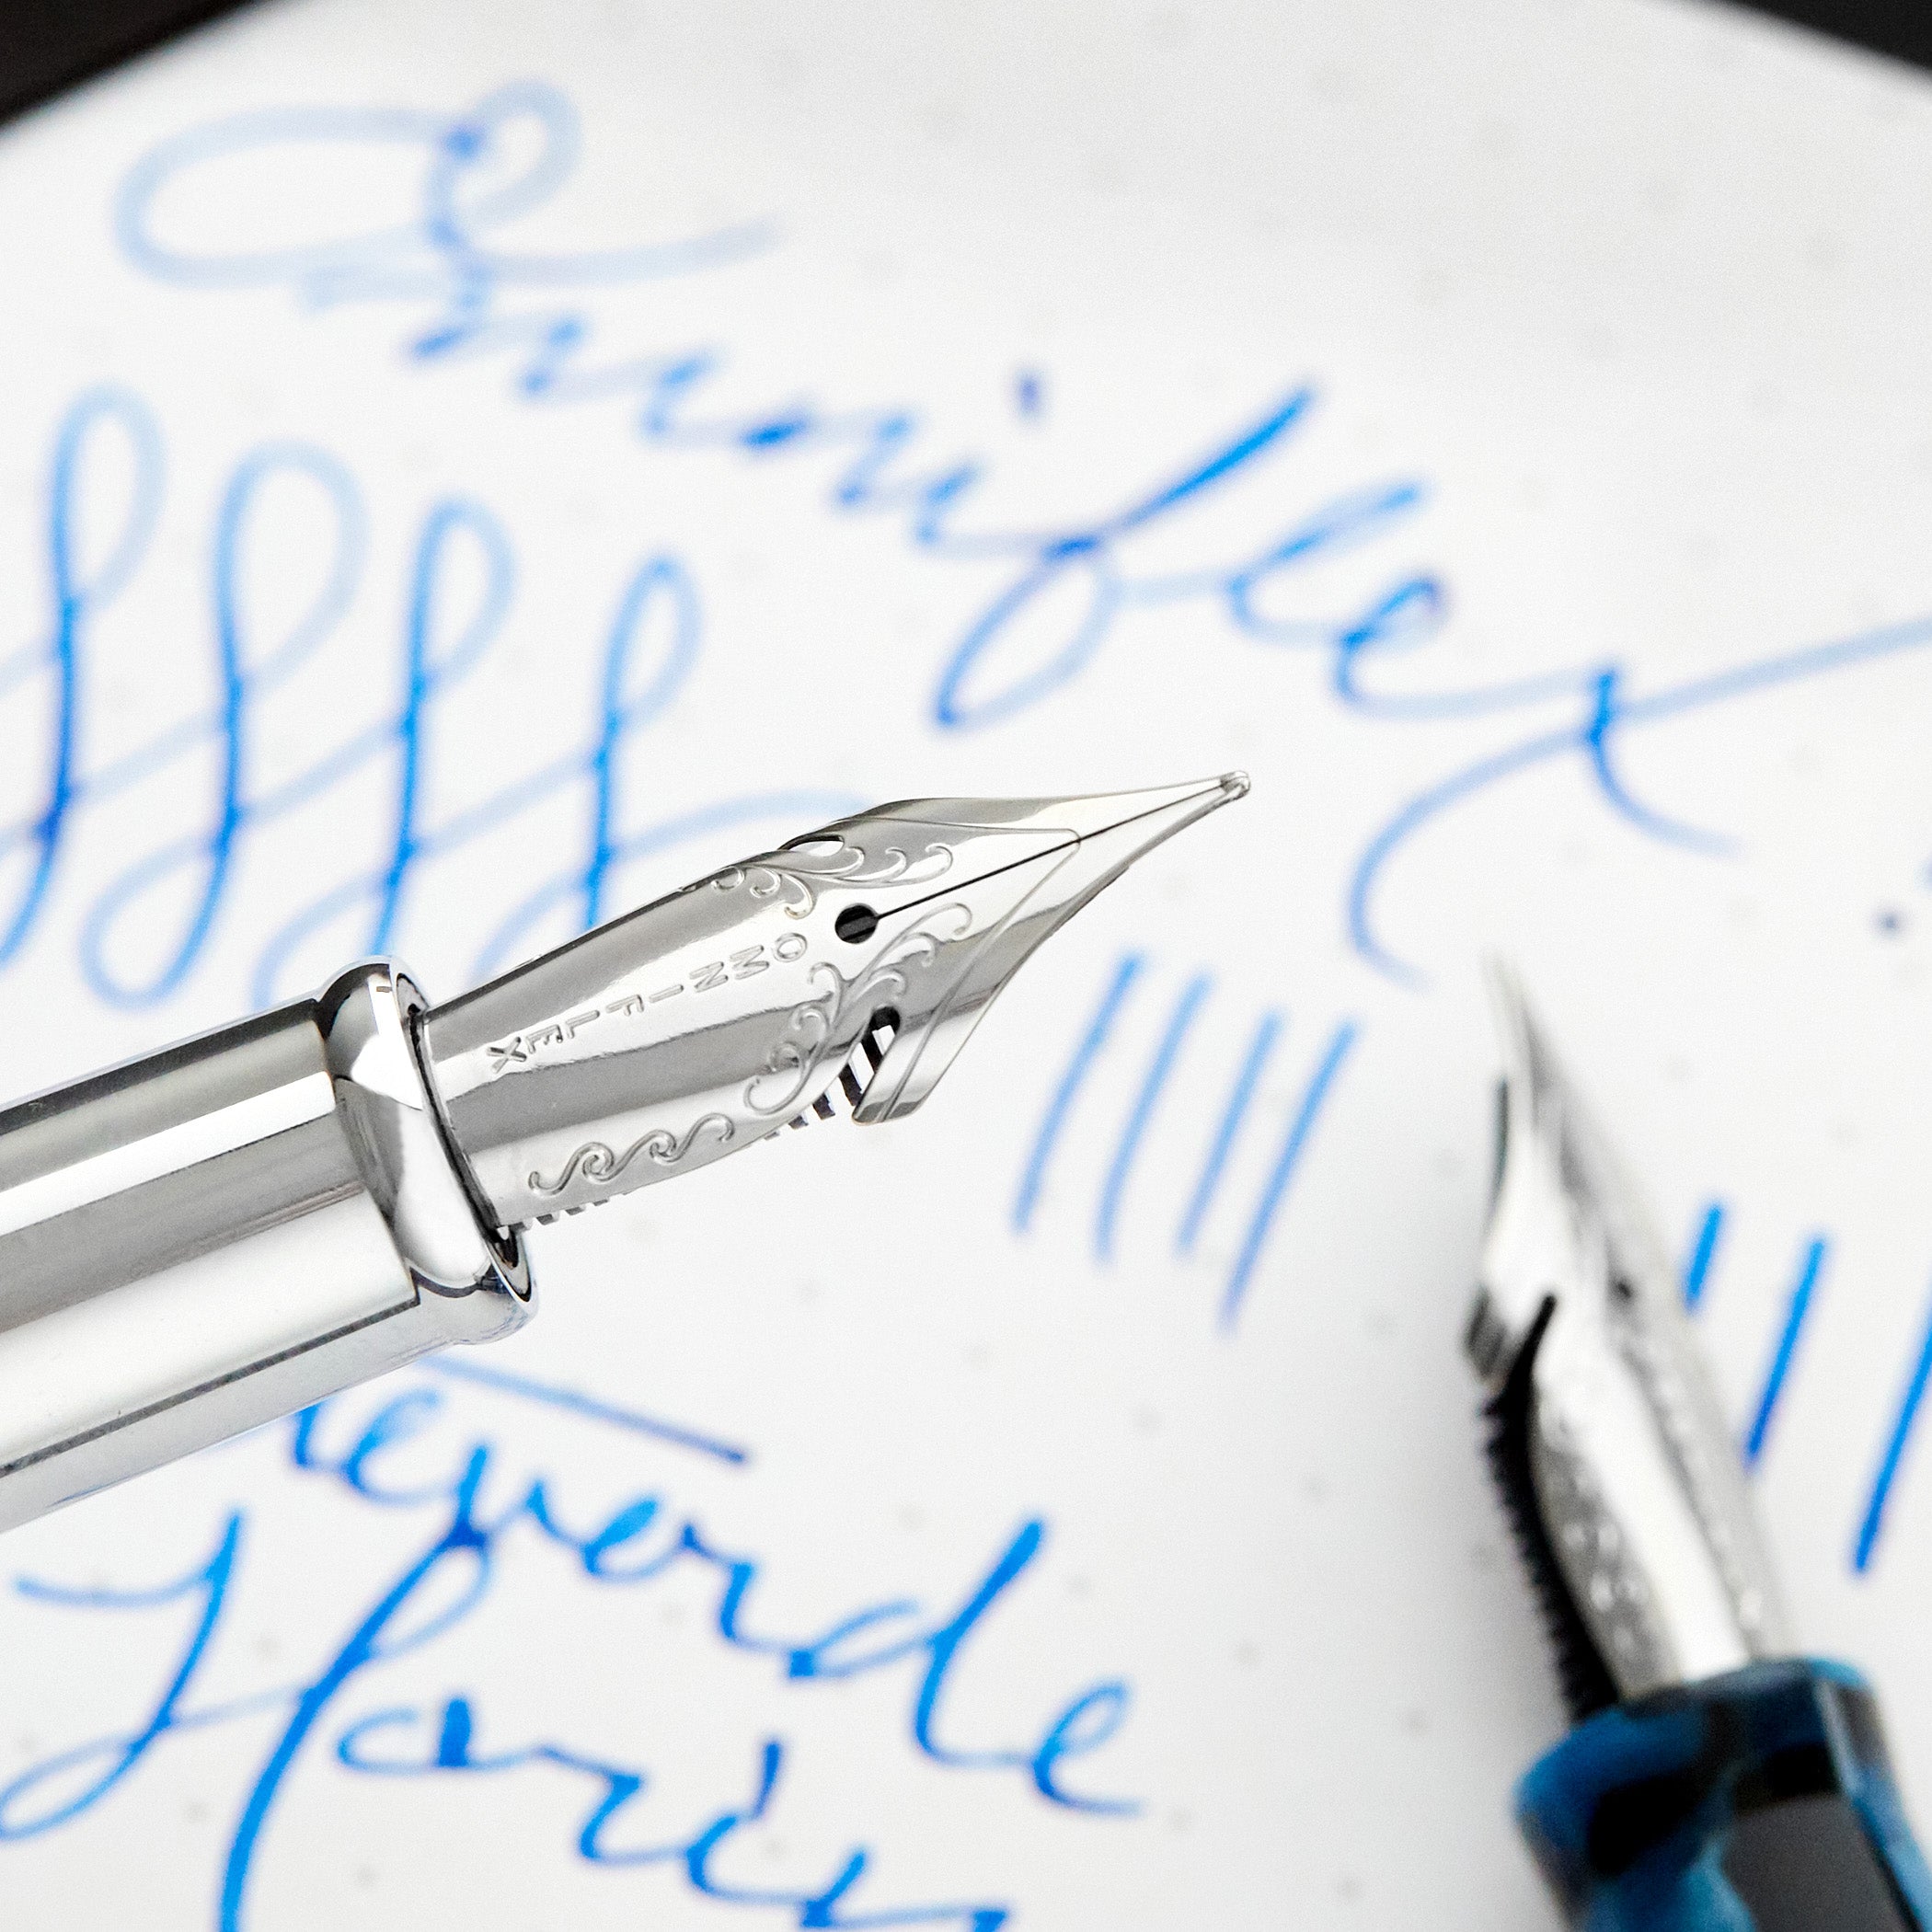
With your loupe in place, it's time to inspect the part of the nib that makes contact with the paper. Consider your writing angle, and get ready to identify any potential issues. It's like you're reading the nib's own language.
Step 4: Shed Light on the whole Situation
Inspecting the nib in a well-lit environment is crucial. You don't want to miss a single clue! Make sure your nib is clean and dried before diving in; water can distort your findings.
Hold the nib up to a light source and use your trusty loupe to gauge the tightness of the tines. Observe how much light passes through them. It's like checking the gates to a secret garden, but instead, you're examining the gateway to smooth writing.
Final Thoughts
Your journey as a fountain pen detective is just beginning, and there's a treasure trove of knowledge waiting for you. There's no end to the adventures you can have in the world of fountain pens. Armed with your loupe and newfound knowledge, you're ready to tackle any fountain pen nib mystery that comes your way. Happy sleuthing!

