How to Clean a Fountain Pen
Fountain Pen 101: Part Three
Welcome to the Goulet Pens Fountain Pen 101 series where you can get all the basics down for learning about how to use fountain pens. This is the third video in the series, where I’ll be showing you how to clean and maintain your fountain pens for optimal performance.
What is pen cleaning and why is it important?
If you’ve only ever used ballpoint and rollerball pens before, the concept of cleaning a pen may be a bit unfamiliar and maybe even intimidating to you. I promise it’s not that scary, there are just a few basics to understand and then you’ll be up to speed. Fountain pens can differ in their design, but in terms of the cleaning principles, they’ll all work pretty similarly.
When I talk about cleaning a fountain pen, the basic idea is that you’re flushing out whatever ink is in the pen using clean water until all the ink is removed. The style and design of the pen may dictate the specific method for how you do this, but essentially you’re just repeating the same process as you would to fill your pen with ink, except you’ll be filling and flushing the pen with clean water instead.
The reason this cleaning process is important is that it’s important to maintain the proper flow of the ink through the pen and ensure both the pen and the ink perform as expected. It generally will only take a couple of minutes to do and it’s time well spent.
I’ll make a disclaimer here that fountain pens are designed to be used with water-based fountain pen ink, NOT calligraphy ink, India ink, acrylic or shellac-based ink of any kind like what is often fountain at arts & craft stores. These types of inks are made for dip pens and are too thick to flow through a fountain pen. If you fill a fountain pen with ink made for dip pens, they’ll clog up and you will likely ruin the pen entirely. It’s the equivalent of pouring glue into a car engine instead of oil! Stick to fountain pen ink only.

When should you clean your fountain pens?
When you first get a pen it’s a good idea to just flush it a couple of times with clean water before you ink it up. This is something most manufacturers recommend because there could be leftover oils or residue from the manufacturing or packaging process that you just want to rule out as a factor in case there were to be any flow issues with your new pen. Many manufacturers do this themselves already but it’s a good practice to just go ahead and do with all new pens.
It’s definitely a good idea to clean your pen when you’re changing ink colors. Not only might colors bleed and look vastly different than intended if you have ink leftover in your pen from a previous color, but some inks don’t mix well with each other and you want to make sure whatever ink you last used is completely out of your pen before inking up with something new. It’s like if you’re using a sealed travel mug for coffee and you don’t wash it out before putting tea or water in it... blech.
If your pen’s not been used consistently or is just sitting there for a while, the ink may start to dry up in the pen. Fountain pen ink is primarily made of water which can evaporate over time, though some pens are designed to keep from drying out better than others. Pretty much if the pen hasn’t been used in a while and feels like it’s out of ink or writing really dry or skipping while you write, it could be it was sitting around a bit too long and could benefit from a cleaning. Or you could also try dipping the nib of the pen back into the bottle of ink or into a cup of water to get it saturated again.
A good rule of thumb for how often to clean a pen is once a month, unless you change colors or have some performance issue in which case you’d clean it when you have that issue.
If the performance of your pen has changed, like you’re getting skipping, having hard starts, you feel like you’re having to press down to get ink to come out, all these are signs that a cleaning might be in order. Cleaning is always a good step to take when you’re troubleshooting a fountain pen’s writing performance. Just like if you have an electronic device that’s acting buggy, it’s always good to try rebooting it. Cleaning a fountain pen is essentially rebooting it, you’ll flush out any dried ink or blockages that may have developed over time, and you’ll get that ink flowing again as it was originally intended!
Tools helpful for cleaning fountain pens
While most fountain pens can be cleaned in a pretty self-contained manner, there are a few basic tools you probably already have at your disposal that you’ll find helpful:
Clean Water
Pen manufacturers recommend using distilled water for cleaning your pens because it has the fewest minerals and contaminants, and that’s always a safe bet. However, if you don’t have easy access to distilled water, using bottled or filtered water is often just fine. Use your own judgment about using tap water, because water quality varies based on your locality. Just keep in mind the most important thing is just to clean your pens at all, so use the cleanest water you have access to, using any quality of water is still better than not cleaning your pens at all.
Water Cups for Flushing
I find cups in 4-12oz size to be helpful while cleaning my pens, with access near a sink. Any cups will do, but keep in mind you might stain the cups with ink so dedicating a cup to ink flushing or using disposable cups is best.
Absorbent Towels
Paper towels or napkins are good, or you can use reusable microfiber or terrycloth towels.

How to Really Clean Fountain Pens
One method that many newer people to fountain pens may try is just rinsing the nib under running water or dipping it in a cup of water. This is sort of like the equivalent of going for a walk in the rain instead of taking a shower. Yeah you’re getting the pen wet, but you’re not really cleaning it out.
Doing a full pen cleaning might seem like kind of a complicated and intimidating process at first, but I promise you it’s not that bad. And actually, it can be a pretty enjoyable and therapeutic ritual you’ll develop with your pens.
First I’ll give a quick rundown of the basic pen cleaning steps, then I’ll cover in more detail for you to reference if you want some time-saving pro tips, hacks, and methods specific to different filling mechanisms. But the most basic steps universal to pretty much every fountain pen are:
- Expel excess ink from the pen, either back into the bottle of ink, or down your sink drain. You basically just want to start with an empty pen.
- Fill and flush your pen with clean water repeatedly until there’s no trace of ink. For most pens this might take twenty or more fill/flush cycles, but it’ll vary from pen to pen. If you’re changing ink colors you want to be really thorough and remove all the old color, but if you’re inking back up with the same color, you can probably save yourself a little effort and just flush it enough to get the bulk of the old ink out of there.
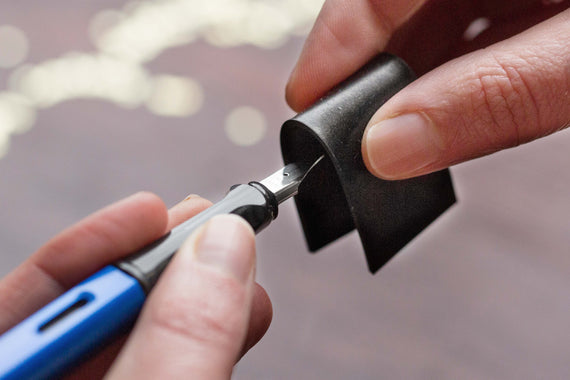
- Soak up excess water with a cloth through the nib, so you don’t have a lot of water in the feed. If you have a few drips of ink left in there don’t sweat it, especially if you’re inking the pen back up.
That’s pretty much the process! If this is all you do, you’ll be in good shape for about 90% of your pen maintenance.
You may be wondering at this point how thoroughly you need to dry your pen after cleaning. Honestly, you don’t need to think much about it if you’re going to ink the pen back up soon since ink is mostly water. Any small droplets left in the pen will just mix in with the new ink and you won’t even be able to tell. If you know you’re not going to use the pen for a while and want to store it away, then maybe leave the pen uncapped sitting out overnight so it can dry out before you store it.
Advanced Pen Cleaning Techniques and Supplies
You may run into a few situations where more detailed cleaning is needed. If you use ink with special characteristics, such as shimmering, sheening, or pigmented ink, thorough cleaning requires some extra steps. Some ink may have a heavy sheen that likes to stick to parts of the pen which is more visually distracting than actually obstructive to the function of the pen and may need more focused attention to fully remove. And if you have ink of any type that’s dried out in the pen, it can clog up the flow and make it hard to clean out or disassemble. Any of these scenarios may warrant additional cleaning steps.
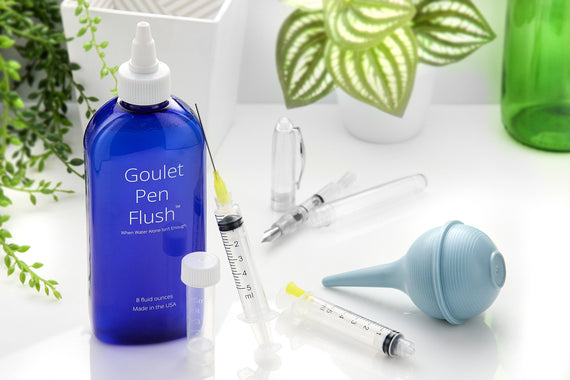
Bulb Syringe
You may have a bulb syringe around your home already. They’re inexpensive and a VERY handy tool for cleaning. For cartridge/converter pens, it’s a game changer, as you can just plug the bulb syringe onto the back of the grip and flush clean water straight through the pen in what would probably take 50 fill/flush cycles using the converter! And if you use cartridges and don’t have a converter for your cartridge pen, you’ll basically need to either get a converter just for cleaning, or get yourself a bulb syringe.

Ink Syringe
An ink syringe has a blunt-tipped needle, and can be helpful in specific circumstances when cleaning out ink cartridges you’d like to refill, or if you wanted to flush out a converter or pen body where a bulb syringe is too large to fit.

Dish soap
Dish soap is a pretty safe and helpful cleaning agent to add to your cleaning regimen, particularly for when you’ve maybe waited just a bit too long to clean and your ink isn’t flowing so well anymore. It’s not the most aggressive cleaning agent so it has its limitations, but just dropping in a few drops of soap into a cup and flushing your pen with it can help clean out some more stubborn ink. You’ll still want to flush your pen with water first to get the bulk of the ink out, then use water with dish soap, and flush again with water as a last step to get all the soap out.
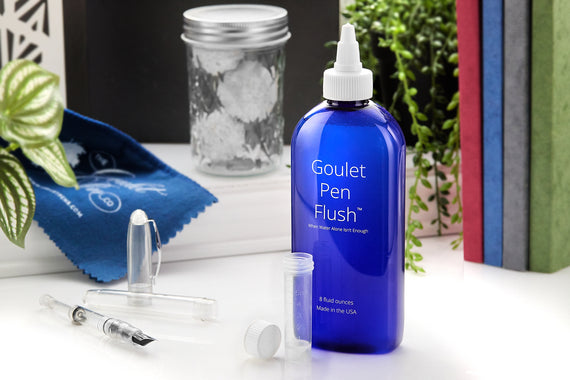
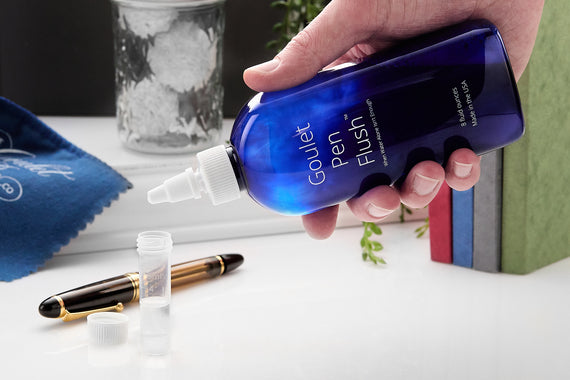
Pen Flush
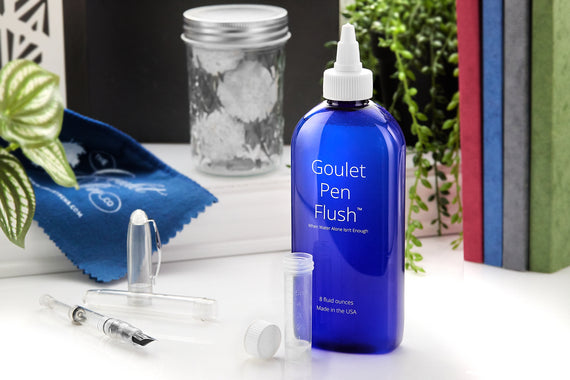
Pen flush is a proprietary mixture of ink cleaning solution that’s slightly more aggressive than dish soap. This is handy for really stubborn and crusty ink, especially if it’s completely dried up in your pen. Or maybe you have an ink with some pigment, sheen or other unique characteristic that makes it want to stick around. Just like the dish soap, you’ll want to flush with clean water both before and after using pen flush.

Toothbrush
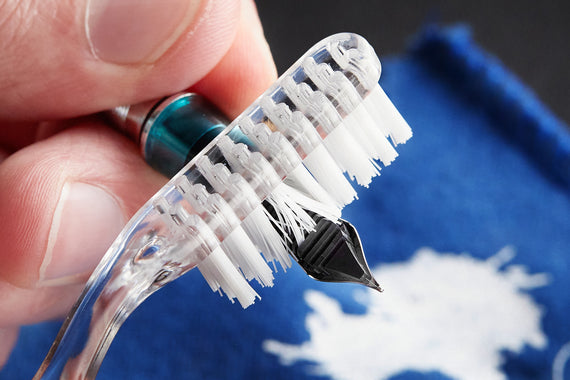
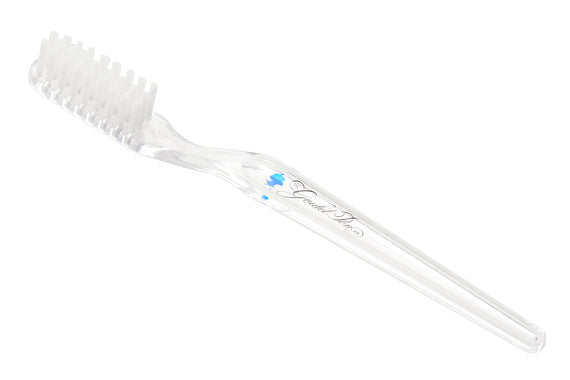
Toothbrushes can be helpful for when a physical scrubbing is needed, particularly with shimmering and high-sheening inks on your feed. This usually requires some level of disassembly so you’ll need to make sure you’re comfortable enough moving your nib and feed on your particular pens. But even if you don’t want to take it apart, a toothbrush can still be used on the visible parts of the feed.
Cotton Swabs
Cotton swabs are helpful to have around for scrubbing certain parts of a pen, particularly inside caps and pen barrels where a toothbrush can’t reach. It’s also handy for helping soak up excess water in and on the pen after you’ve cleaned it.
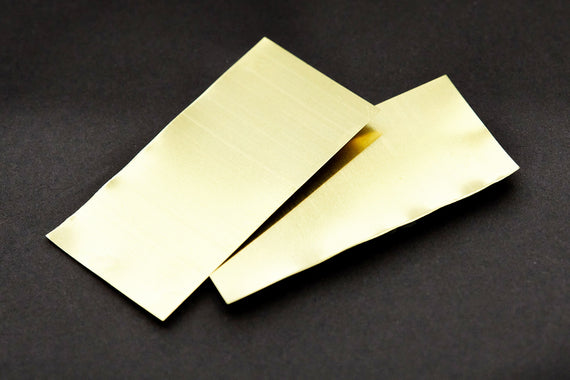
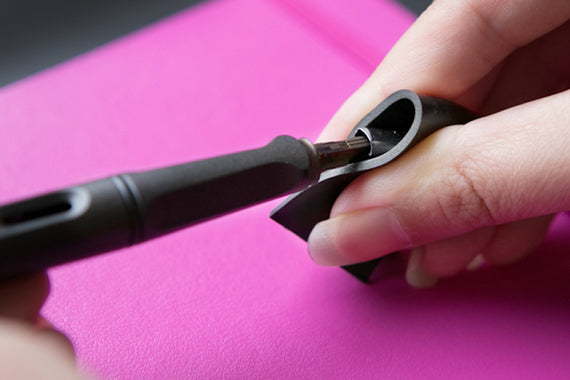
Polishing Cloth
Polishing cloths or jewelers cloths can be helpful when getting small scratches out of metal pen parts like nib or trim, and might even help shine up certain pen body materials too.

Silicone Grease
Silicone grease is a material used to help lubricate certain moving parts of your pen, like piston seals or even cap threads. While you won’t have to use this for a while with new pens, over time it’s something that can help keep your pen parts moving smoothly.
![]()
Piston and vacuum filling pens with their higher ink capacities are really suited well for keeping the same inks in use for longer periods so cleaning might be less frequent. Just know if you’re changing ink colors all the time, you might want to stick with cartridge/converter pens if you want to save yourself time cleaning your pens.
Pen Storage
When using an inked fountain pen, there’s no specific orientation a pen needs to be stored, though you may find your own personal preferences. Some wetter-writing pens might do better if stored with the nib towards the sky, like when it’s in a pen cup or pen stand, but some pens might have a harder time starting if stored like this regularly since gravity keeps the ink away from the nib. If you store a pen with its nib pointed down towards the ground, gravity will keep that ink in contact with the back of the feed, which helps with some pens that might write a little drier. There’s somewhat of a downside to storing them this way since the clips will take up more room in a pen cup or might not fit in a pen stand at all.

It’s a pretty safe bet for most fountain pens to store them laying down horizontally, as the ink inside will keep more in contact with the feed like when storing it nib-down. Experiment with how you keep your pens oriented and see if it makes a difference for you for the pens you have inked and ready to go. There’s no strict rule here, just do what’s most practical for you.

Summary
Something helpful to note is that fountain pens are made to last many years, even decades, so there are some aspects of their care that matter that you probably haven’t considered with using rollerballs and ballpoints. Here are a few use and care tips to help you get the most life out of your pens:
- Don’t carry pens in your pants pockets with hard objects like keys that could scratch your pens.
- Since fountain pen ink is mostly water, try to avoid storing your pens in extreme cold or extreme heat.
- Direct sunlight over prolonged periods of time can cause the dyes in your ink to fade, or could fade some of the color from your pen materials.
- When carrying your pens, especially particularly expensive or special ones, you may want to invest in some pen sleeves or pen cases. These can vary a lot in style, and can hold single pens or your entire collection, it all depends what best meets your needs.
While cleaning and maintenance is not the most thrilling aspect of the fountain pen hobby, I will say it’s something that you’ll appreciate more and more over time as you use your pens. You can check out a lot of the supplies I mentioned here today on our site, and be sure to check out our other videos on YouTube, especially in our Fountain Pen 101 series.
Additional Resources:
- Fountain Pen 101 part 1: What is a Fountain Pen?
- Fountain Pen 101 part 2: How Do Fountain Pens Work?
- Fountain Pen 101 part 4: Fountain Pen Nibs Explained
- Fountain Pen 101 part 5: How to Write with a Fountain Pen
- How to Clean a Cartridge/Converter Pen
- How to Clean a Piston Pen
- Goulet Pen Flush Tutorial


