Goulet Micro-Mesh Tutorial
If you have a nib that seems to be just a bit more rough than you'd like, Micro-mesh might be your answer.
Used by many nibmeisters, Micro-Mesh is an incredibly fine abrasive paper that will help to smooth out the tip of a scratchy nib. I view it as a repair tool, something that will help a nib that doesn't feel good on paper, especially if it's scratchy in one particular direction.
Video Highligts:
Why do you need it? (0:48)
Disclaimer (2:04)
Goulet Micro-Mesh (3:17)
How to use Micro-Mesh (5:17)
How long will it last? (14:09)
Warning: Using an abrasive like Micro-Mesh to smooth your nib voids just about every pen manufacturer's warranty, so make sure you're only working on pens that are out of warranty, or that you're confident you will never need to have serviced by the manufacturer or returned to the retailer. It's best to practice on inexpensive pens that you don't mind messing up and throwing away if things go bad. You only have yourself to hold accountable if you mess something up!
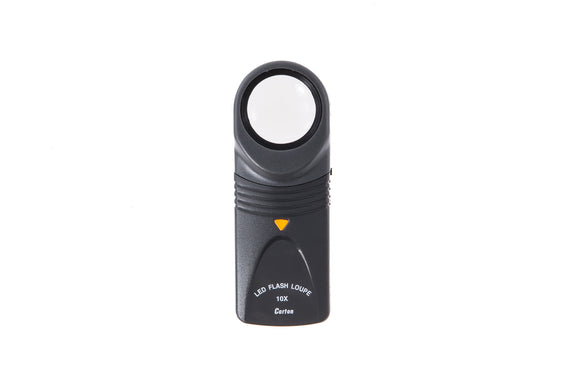
It's always best to first check your nib for proper alignment before trying any nib smoothing remedies. Often a scratchy nib is simply a matter of one tine bent lower than another, and you can see this symptom with the aid of a loupe or other magnify
ing glass. If the tines are aligned and the nib still writes scratchy, then Micro-Mesh is often a good measure for more severe scratchiness. If your nib is writing satisfactory but you just want it to write a bit smoother, then you may not need Micro-Mesh at all, and you could opt for the finer abrasive Mylar paper instead.
Using Micro-Mesh to smooth your nib is a bit of an art form, and may take some practice for you to be able to do reliably. It is possible to overdo it, which could possibly cause permanent damage to your nib that should be repaired by a professional nibmeister. It's always best to take a conservative approach when working with any abrasive on your nib. Use a light touch and be very patient.
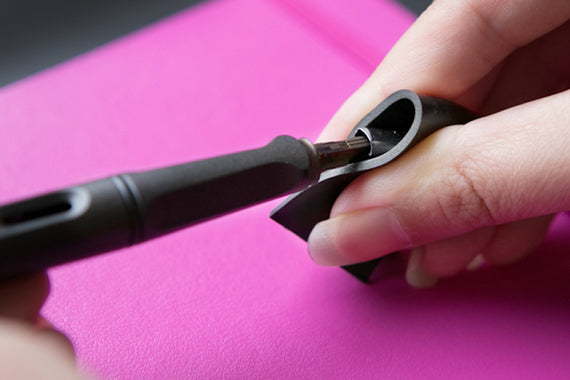
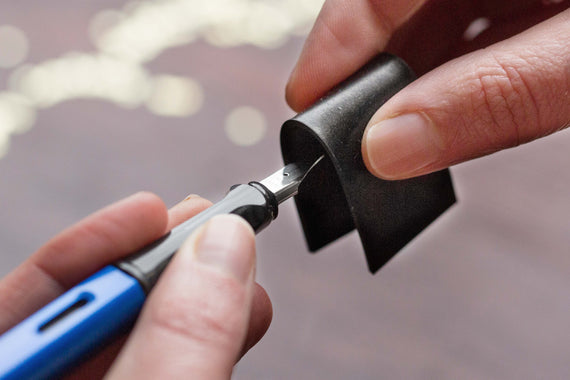
Hold your inked-up pen as you normally would, and lightly make figure-8 patterns about 10-15mm tall on a paper of your choice. This will help you to identify what part of your stroke is feeling the deepest scratchy feeling. Have your sheet of Micro-Mesh next to your paper, on a flat and stable surface. Make the same figure-8 pattern on your Micro-Mesh as you did on your paper, applying very light pressure and going fairly slow. If you are able to feel where the scratchy feeling is most prevalent, apply a slightly greater amount of pressure to that part of the stroke of your figure-8 as you're drawing it on your Micro-Mesh.
If you need to concentrate the smoothing on one particular part of your stroke, you can stop doing the figure-8 and just go back and forth in the motion that feels the scratchiest. For example, if you know your scratch is felt the worst when you write from right-to-left straight across, you can repeat just this motion on the Micro-Mesh to smooth out just that part. Repeatedly move back and forth between your Micro-Mesh and your paper, to check on your progress and only continue smoothing on the abrasive as long as is necessary to make the scratchy feeling go away. It's best to only do a couple of figure-8's at a time on the abrasive before checking back on your paper.
Micro-Mesh alone will smooth out most scratches, and if you haven't used ‘good' nibs before, just the Micro-Mesh smoothing alone will probably feel amazing! It won't give you the absolute smoothest nib possible, though. For that you may want to upgrade to the even finer abrasive Mylar paper. Chances are though, if you've been living with a scratchy nib and you get it smoothed out with the Micro-Mesh, you'll feel like your nib is glossy smooth just with the work you've done here.
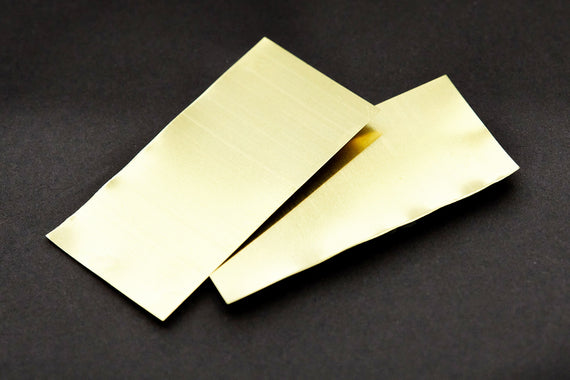
This 6"x3" sheet of 12,000 grit Micro-Mesh is available at our store and will be enough to last you years. It will help you save those scratchy nibs that made you want to throw your pens away!

